Silicone Wristband Print Area: What You Can and Cannot Print
The 46 x 6 mm panel decides what a logo can do. What fits, what fails, and why a sample beats a screen proof.
The most common artwork problem on silicone wristbands is not a bad design. It is a good design built for a different surface — a screen, a business card, a printed box — and then dropped onto a curved, slightly textured band without adjustment. This is what the print area actually looks like, and how to keep a logo readable on it.
The panel, in numbers
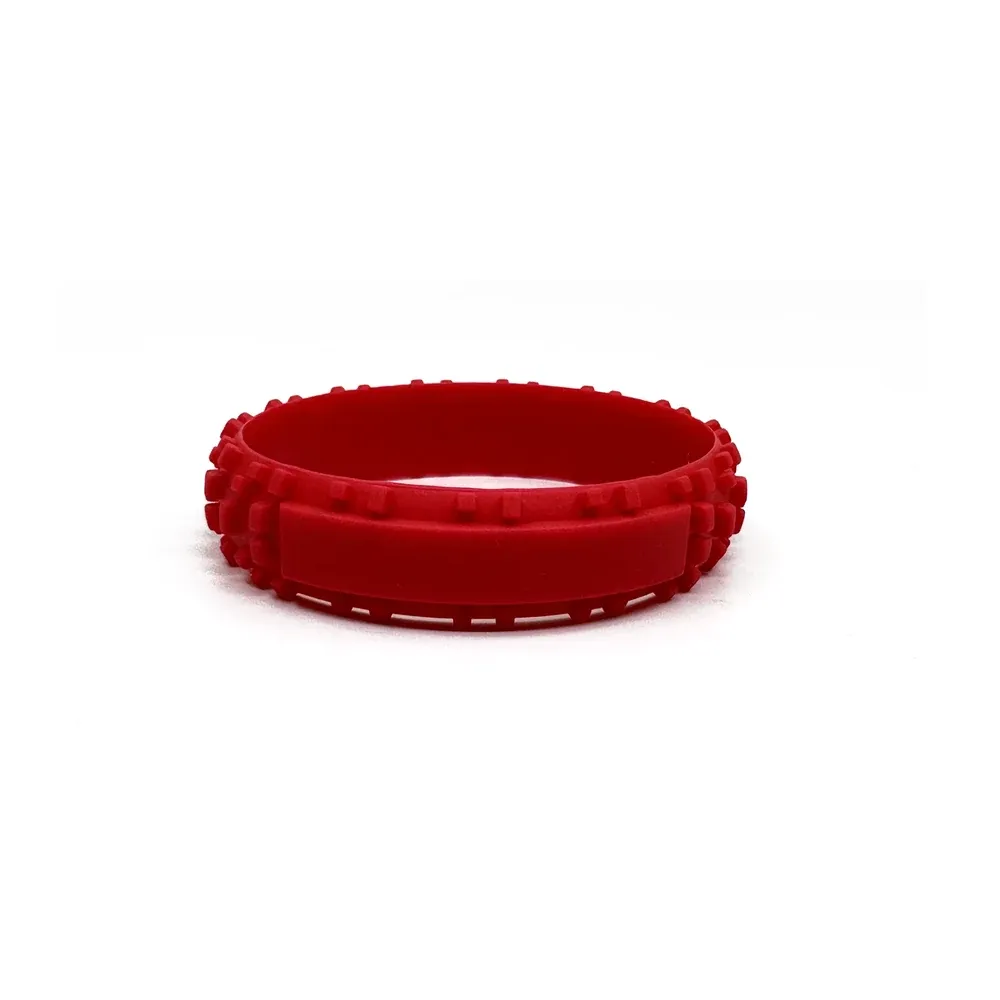
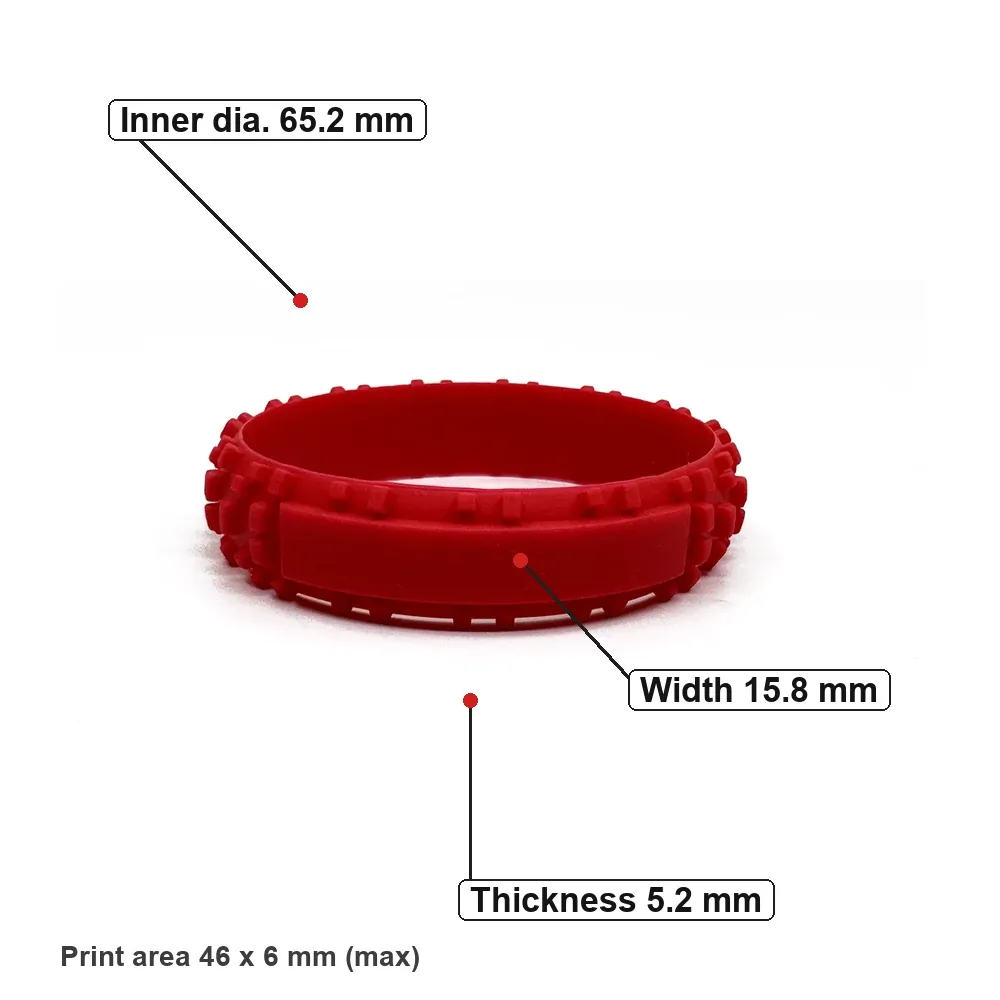
On our tire tread band, the print area is a flat rectangular panel measuring 50.5 × 9 mm. The maximum printable area inside that panel is 46 × 6 mm. Everything you want printed has to live inside those 46 × 6 mm.
That is small. A short wordmark and a simple mark will fit comfortably. A logo with three lines of text and a tagline underneath will not, at least not legibly. The panel is flat rather than curved, which helps: straight horizontal text holds its shape better here than on the rounded part of the loop.
What fits well
• A single-line wordmark
• A compact symbol, or a symbol plus one short line of text
• Bold, open letterforms with clear spacing
• Solid shapes with clean edges
• One or two colours, well separated
Cases like these are the ones that come back from production looking like the proof.
What does not
• Long taglines and multi-line paragraphs
• Hairline strokes and very fine detail
• Gradients, soft shadows and glow effects
• Photographic images and fine textures
• Designs that rely on a white background — silicone shows the band colour, not paper white unless white is printed as its own colour
We do not publish fixed limits for minimum line weight or supported print effects, because the honest answer depends on the artwork, the colour count and the band colour. Send the file and we will tell you what will hold up. If the design sits close to the limit, we recommend a sample before the full run.
Colour limits
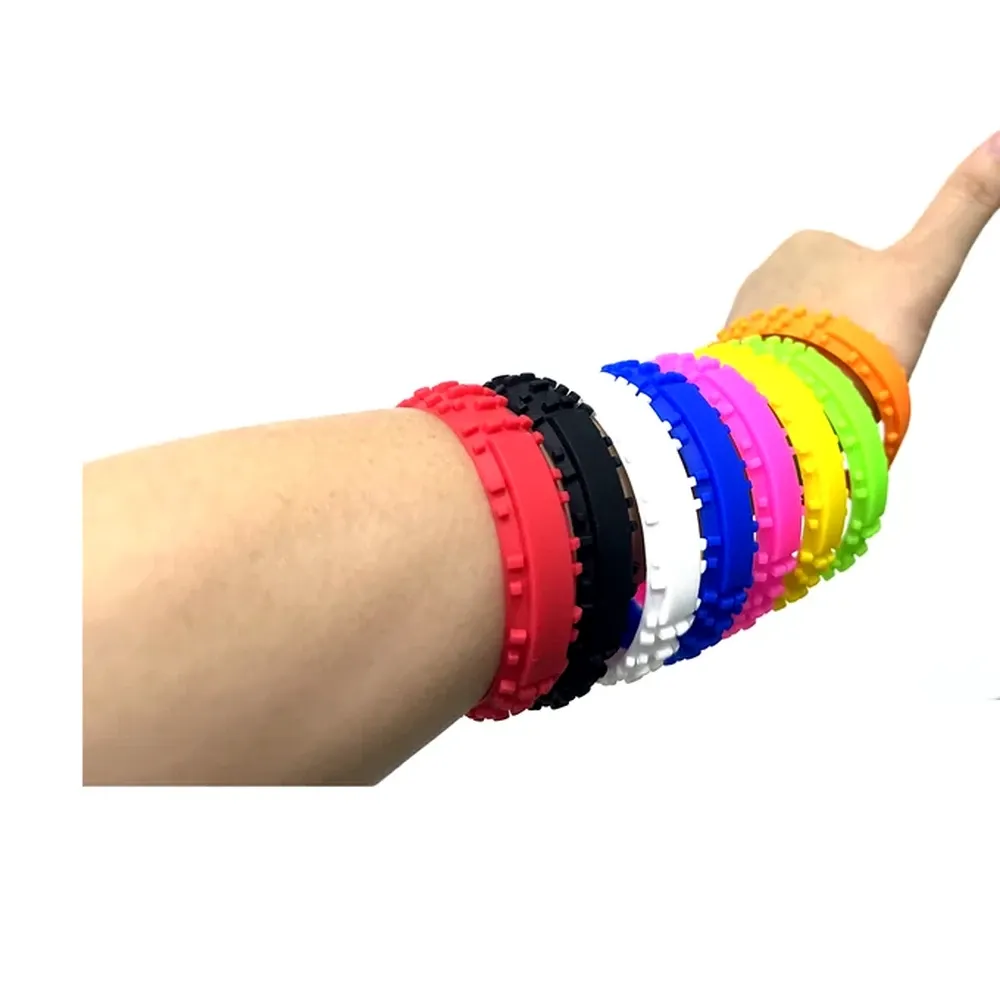
Band colour is chosen from 12 standard shades, each with a Pantone reference, so the base colour can be matched against a brand guide instead of guessed from a screen. Print colour is separate from band colour: what you print sits on top of the band, and contrast between the two decides readability.
One print colour starts at 100 pieces. Two or more print colours start at 200 pieces. Each extra colour adds a setup step, which is why the minimum quantity steps up.
Preparing a file that prints cleanly
1. Send vector artwork if you have it, with text converted to outlines.
2. Keep the design inside the 46 × 6 mm area, with a small margin.
3. Use solid colours, ideally with Pantone references.
4. Tell us the band colour, so we can check contrast before printing.
5. Say what the design must communicate if it has to be simplified — we can suggest what to drop.
The proof, not the promise
A screen proof shows shape and layout. It does not show how ink sits on silicone, how a thin stroke behaves, or how two colours read next to each other on a dark band. If any of those matter for your order, ask for a sample. It costs less than a reprint.
Send the artwork
Send the file, the band colour and the quantity through the contact form. We will confirm whether the design fits the panel, flag anything likely to fail in production, and quote the print setup before the order is placed.